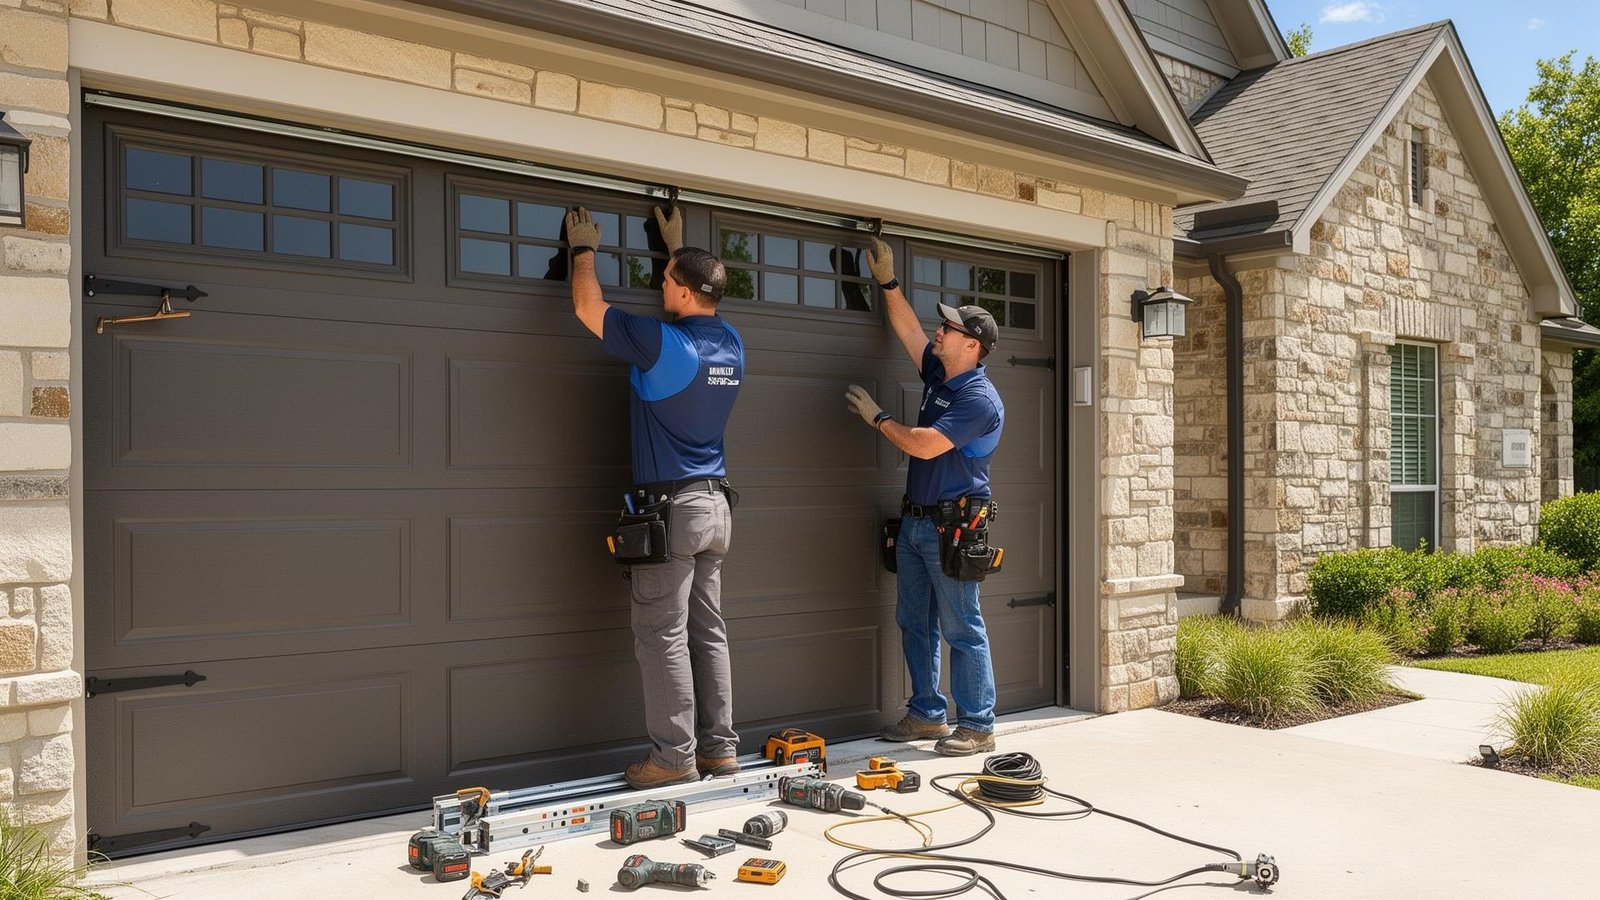
Most people discover their bottom seal is shot when they’re mopping up the garage floor after a rainstorm, or when they spot a scorpion that clearly walked right in under the door. By that point it’s usually been failing for a while – the rubber dried out, cracked, and started pulling away from the floor months ago. Nobody noticed because nobody looks at it.
That’s the thing about bottom seals. They do their job quietly until they don’t, and when they stop working, everything gets in. Water, bugs, dust, and in Austin summers, enough heat to make your garage feel like a kiln. A replacement seal runs $20 to $50. Takes an afternoon. It’s one of those fixes that’s almost embarrassingly easy once you know what you’re dealing with.
What a Bottom Seal Actually Does
It’s a rubber or vinyl strip that runs the full width of the bottom edge of your door. When the door closes, it presses down against the floor and closes the gap between the door and the ground. That’s it. Simple concept, but without it there’s nothing actually sealing your garage from the outside.
The Different Types
Walk into a hardware store without knowing what you have and you’ll stand in the weather stripping aisle for twenty minutes going in circles. Here’s what the options actually are.
Beaded seal looks similar but has a rounded bead instead of a T. Slots into a matching groove in the retainer. Common on older doors. The two profiles don’t swap – check before you buy.
Bulb seal is hollow and rounded, compresses more than a flat profile. If your garage floor isn’t perfectly level – and a lot of Austin homes have floors that have shifted over the years – a bulb seal handles the uneven contact better than a T-style does.
Nail-on seal is for doors without a retainer channel at all, usually older wooden doors. Fastens directly to the door bottom with nails or screws. A bit more work to replace but still a DIY job.
Brush seal uses stiff bristles instead of rubber. Mostly commercial. If you have a standard residential door you probably won’t ever deal with this one.
Getting the Right Replacement
Measure the door width – the door itself, not the opening. Standard single doors are 8 or 9 feet, doubles are usually 16. Most seals come longer than you need and get trimmed to size, so buying a bit long is fine.
Then figure out your retainer. Look at the bottom edge of the door. Metal channel running across it? Measure the opening width – usually 3/16 or 1/4 inch. That tells you T-style versus beaded. No channel means nail-on. Take a photo of what you have before you go to the store. Better yet, pull the old seal out and bring a piece of it with you.
Replacing It Yourself
What you need: the new seal, dish soap or silicone spray, a utility knife, a flathead screwdriver, maybe pliers.
Open the door all the way and disconnect the opener so nothing moves while you’re working. For a T-style or beaded seal, find the end cap on one side of the retainer channel, pop it off, and slide the old seal out. It might be stuck from years of grime – a screwdriver helps get it started. For nail-on types, remove the fasteners across the bottom edge and pull the old seal free.
Clean out the retainer channel before you put the new seal in. Dirt and old rubber residue in there makes sliding the new seal through harder than it needs to be.
Coat the new seal with dish soap or silicone spray and feed it into the channel from one end. Work it across the full width, keeping it centered. Trim the excess flush with the door edge on both sides.
Reconnect the opener and close the door. Watch how the seal sits against the floor – it should make even contact across the whole bottom. Stand inside with the lights off and check for light gaps. If one end is lifting, the door may be slightly out of level, which is worth looking at separately.
Bottom Seal vs Threshold Seal
Response time is the first thing that matters for commercial clients in a way it doesn’t for homeowners. Ask any company you’re calling how quickly they can get to a commercial job. If same-day service for commercial work isn’t something they can reliably commit to, that tells you something about how they’re set up.
Whether they carry commercial parts on their trucks is a follow-up worth asking. A technician who shows up to a commercial spring job and doesn’t have the right spring with them is adding hours to your downtime.
Licensing and insurance are baseline requirements for commercial work. General liability and workers’ comp both need to be in place before anyone touches a commercial door system. Ask for proof. Any reputable company in Austin, Georgetown, Bee Cave, or Bastrop will hand it over without hesitation.
Get a written estimate before work starts. That’s standard practice for legitimate commercial repair work. If someone wants to begin before giving you a number, don’t let them.
How Long Should It Last?
Three to five years is the standard answer. In Austin, closer to three is realistic. The heat and UV exposure here are harder on rubber than most places. EPDM rubber and vinyl hold up better than basic rubber and are worth the small price difference when you’re buying.
Running the door over rocks or debris shortens the life significantly, as does parking with the door resting on something other than a flat clean floor.
What It Costs
The seal itself is $20 to $50 depending on length and material. Add a threshold seal and you’re looking at another $30 to $60.
If you’d rather have someone come out and do it – especially if the retainer channel is damaged or the door isn’t sitting level – most garage door companies in Austin charge $75 to $150 for the full job, parts included. If the retainer needs replacing too, add $50 to $100.
Look at the bottom edge of the door for a metal retainer channel. If there's one, photograph the profile and match it at the hardware store - or just pull out a piece of the old seal and bring it with you. No channel means nail-on. That covers most situations.
For most doors, it's DIY. Sliding out a T-style seal and putting a new one in is genuinely one of the easier garage door jobs out there - no springs, no cables, nothing dangerous involved. Where it gets complicated is when the retainer is bent or damaged, or when the door isn't hanging level and the seal won't sit right no matter what you do.
Two possibilities. Either the floor is uneven and the seal isn't making full contact - a threshold seal on the floor fixes that. Or the water is coming in from outside because the ground slopes toward the garage door rather than away from it, which is a grading problem rather than a seal problem.
Need Someone to Handle It?
Some of these jobs are quick and easy. Others turn into something bigger once you get into it – retainer damage, alignment issues, a floor that’s shifted enough to make a standard seal useless.
If you’re in Austin, Cedar Park, Round Rock, Pflugerville, or anywhere nearby and you want it done right without the hassle, give us a call. We’ll take a look, tell you exactly what the door needs, and get it sorted in one visit. Get a free quote today.
Share this :
Facebook
Twitter
WhatsApp
Email

wasiimlatiif142@gmail.com
Get free tips and resources right in your inbox, along with 10,000+ others
Latest Post

April 20, 2026

April 20, 2026